November 03, 2013

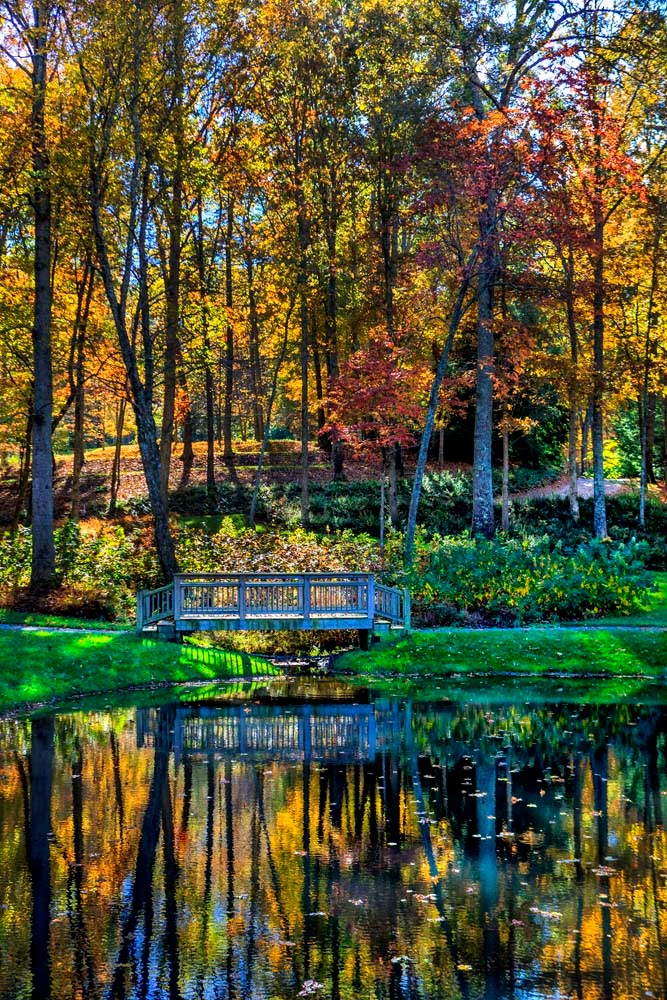
Enjoying The Fall Colors

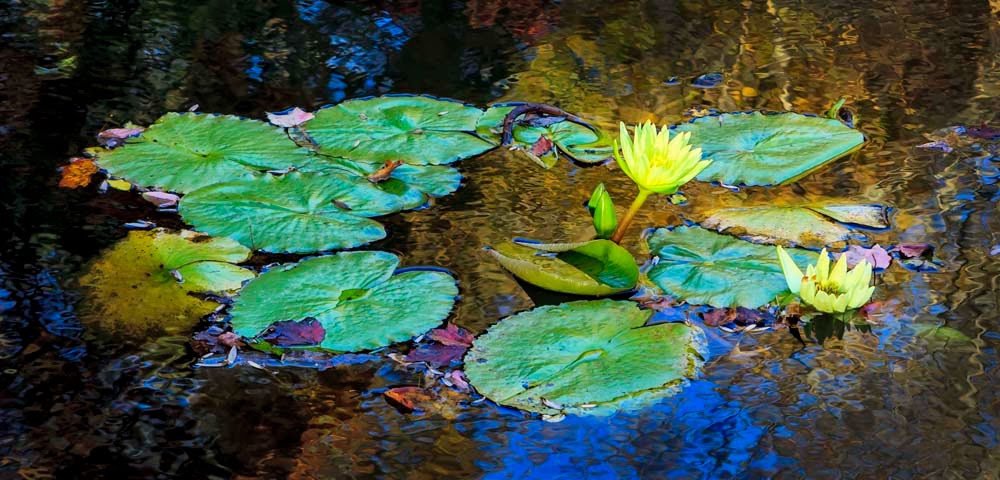
This weekend, Helene, Keith, and I took a ride into the Georgia countryside and visited Gibbs Garden.   Enjoy the great Fall color....

                                                                          click to enlarge image


September 24, 2013

Web Post On Tethered Shooting

Check out this on-line profile on tethered shooting on the Tethertools blog


July 05, 2013

Digital Imaging Institute Workshop in Sedona Arizona


This past week Helene and I taught at the fourth annual Imagery in Ophthalmology Workshop in Sedona.  Organized by Cathy and Mark Maio,  it was a nice mix of great photographers all learning from each other around the beautiful Arizona mountains. From early morning sunrise panoramics to late night star trails, we spent long days in the field shooting and in the classroom teaching Lightroom and Photoshop Extended. Here are some of my favorite images I shot this week.  Enjoy!

Click image to enlarge


May 29, 2013

Cutting The Cable On Tethered Shooting


       One of the coolest products I have come across in a long time for digital photography is the new CamRanger. Tethered shooting has always been my thing. When I started with the first Leaf DCB in 1992, tethered shooting was the only way you could capture a digital photograph. Of course it was pretty slow compared to today’s technology. In the early days of digital capture, the camera took three images through a red, green and blue filter wheel and you would wait about 45 seconds to see your image appear on the monitor. When DSLR cameras became the standard several years later, everyone was excited to cut the cord, but not me….


       I have always appreciated the accurate info on a calibrated and custom profiled monitor. We are visual artists. We react to what we see and the little image on the back of a DSLR just doesn’t cut it in precision professional photography. With the introduction of Lightroom, Capture One and the proprietary camera capturing software, tethered shooting came back in a big way. Now we have a new choice to work with in the CamRanger. Let’s capture to the ipad, iphone and computer without any wires…. This is really going to bring the tethered type shooting in to all areas of photography.

       One of my favorite places to shop for my digital photography accessories is www.Tethertools.com. All the products I need for tethered shooting can be found in one place.  I started last year with the purchase of the orange tethering cables and ipad accessories and was super excited to see the new CamRanger in their line-up at the recent Photoshop World conference trade show this past April in Orlando. As far as I am concerned, this is what the ipad was created for. As soon as I saw a demo on it, I knew I had to have it and bought it before I even asked how much it was. For $299, it s a sweet deal and a must have product in your camera bag.

       Wireless shooting is not new… but what is new is the ease of setting it up. From the time I opened the box to the time I had an image from my Canon 1Ds Mark III to the ipad was about that 5 minutes…. Unbelievable! It’s just too easy. Now I have just want I need for those hard to shoot situations where the art director needs to see exactly what’s going on with out all the fuss of cables and computers.


        In the studio I still love shooting with the tethered cabled set up to my (comes free with the camera) Canon Utility software that sends the image right to the hard drive in a few seconds as well as saving an image to my Hoodman 32 gig internal CF card in the camera. With the 15 foot extension cable, I now have 30 feet of cable and the orange color really helps me see it in the dark studio. I see it quickly on my monitors and everyone can put in their input on what needs to happen on the set.


      That’s fine in an average situation, but average is not what we do. Sometimes we are up in the air on the top of our monostand, or laying on the floor trying to see what we are doing as we set up a shot. Bringing an ipad over to the set so the model can see what going on without getting out of position. This is where CamRanger really comes in handy.


       Out in the field where having a cable connected to your laptop is not practical, the CamRanger really shines as an incredible advantage. The software has all the features you could ask for in a wireless system. Some of the key features are having the ability to access the camera settings, control image viewing, view and download the thumbnails or hi res Raw images, control metering, and view the histogram. You can shoot HDR's, control bracketing, focus stacking, live view, remote triggering, time lapse photography, movie recording, and tag and rate images. Being able to put the camera in hard to get areas and control it from up to 150 feet away sets it up for all kinds of sports and wildlife photography as well,  For now, this is the best possible answer for total control in you image making. Till next time.... work smarter....  not harder....


February 02, 2013

Working with Canon Tilt/Shift Lenses


         Using the Free-Transform Tool in Photoshop can do wonders for correcting perspective in a digital photo, but at what price do we pay in pixels for all that distortion correction. The perfectionist in every digital photographer is always searching for a better way to achieve the best quality.  There are many perspective control - tilt/shift lenses available for the digital SLR cameras. These manual exposure, manual focus specialty lenses allow the photographer to straighten the perspective or extend the depth of field by changing the rise/fall and tilt/shift of the focus plane. This is the closet thing to view camera control I have found since the transition to digital capture from film.

click to enlarge images


            In these examples, I am using the Canon TS-E 17mm f/4L lens on the 1Ds Mark III camera on this outdoor scene of a new pool  installation. In the first shot, you can see that when the camera is pointed downward toward the pool, the posts of the screened in pool area are angled and distorted. When doing wide-angle photography, the wider the lens you use, the more extreme the distortion is in the image. To correct the problem in the initial image, the camera is leveled out to look straight ahead instead of at a downward angle. The lens is then adjusted to shift the view downward using precision adjustment knobs on the lens to bring the pool area into view while keeping the image sensor level. This corrects the general perspective of the scene to have areas that are straight to look straight while still looking downward to the pool surface. This saves computer time and increases quality in the final image as you don’t transform and interpolate any of the pixels in free transform.


            In this next example, this interior staircase shot is a tough angle to get without really distorting the railings as you look down to the first floor. The Canon TS-E 17mm lens is wide enough to cover the area, but the distortion level is very high.  By leveling out the camera view first, the image viewing area can be shifted downward to view the first floor. The distorted staircase is corrected at the point of image exposure and this means the Raw file is correct from the very beginning.


            The perspective control lens is very important in the studio as well. The Canon TS-E 90mm f2.8 lens is great as a choice for product photography. The longer focal length allows the photographer to work a little further away from the set making it easier to work in the lighting. The ability to tilt or swing the lens can extend the depth of field to follow the direction of the product placement and allows more control of what is sharp. In this example the Canon 1Ds Mark III and the TS-E 90mm f2.8 lens was set up to photograph this circuit board. The lens was tilted away from the subject so the depth of field is very shallow. In the next image, the lens was tilted toward the subject to extend the focus to make the product sharper. The more control we have on the front end of the image, the better the quality is going to be after our Photoshop enhancements.  Till next time… Work smarter…  Not harder..