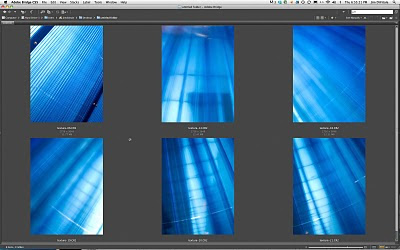
In this example, I have a set of images I shot on my Canon S90 pocket sized camera of a blue doorway with light streaming down on it while walking around downtown Santa Barbara. It wasn’t planed for…. It was just there. I get a nice ten Meg Raw file that has plenty of enough detail for creating interesting elements in other composite images.

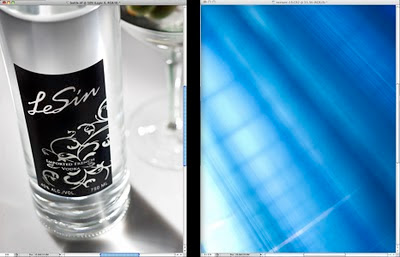
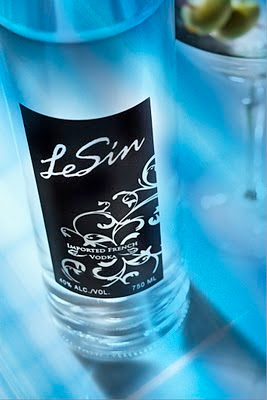
I opened up a product shot of a vodka bottle that I recently shot with the Canon 1Ds Mark III and 90mm tilt/shift lens for a new client, and dragged the image of the blue lights over the bottle shot using the Move Tool. Pressing the Shift Key and + Keys cycles through the different blend modes. I decided that the Multiply Blend mode looked best. A Layer Mask was then added to the blue layer and some of the color was brushed away from the vodka label and glass to let some of the original color come back through with a soft black brush. I then added a Screen Blend Mode Levels Adjustment Layer to the top of the stack to brighten up the values some and we have a much more interesting image now.

On Thursday Feb 17th, I will be doing another new Creative Techniques in Adobe Photoshop webinar with onOne Software. This one will be concentrating on using multiple elements and compositing in Photoshop with extra enhancements created with onOne PhotoTools and PhotoFrame. Register on their website at https://www1.gotomeeting.com/register/515258041 . If you have a moment, check out my new on-line source book portfolio at www.foundfolios.com/Jim-DiVitale

